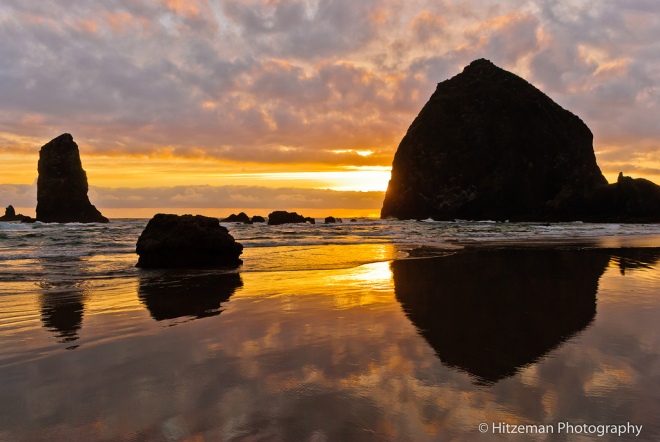
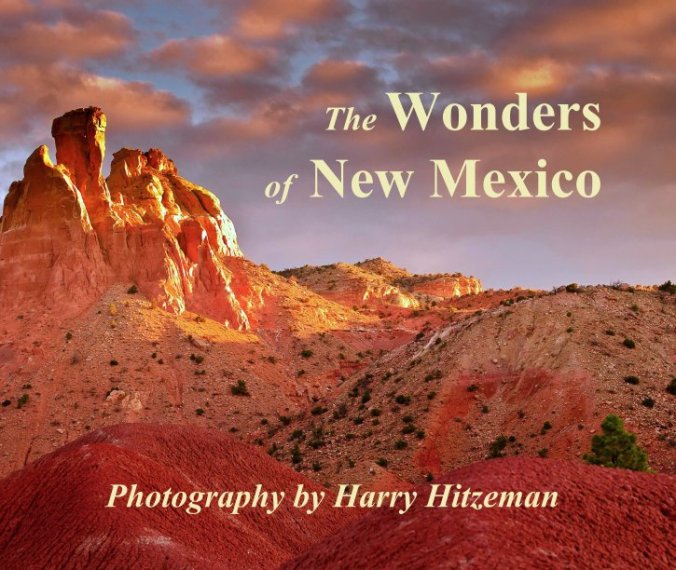
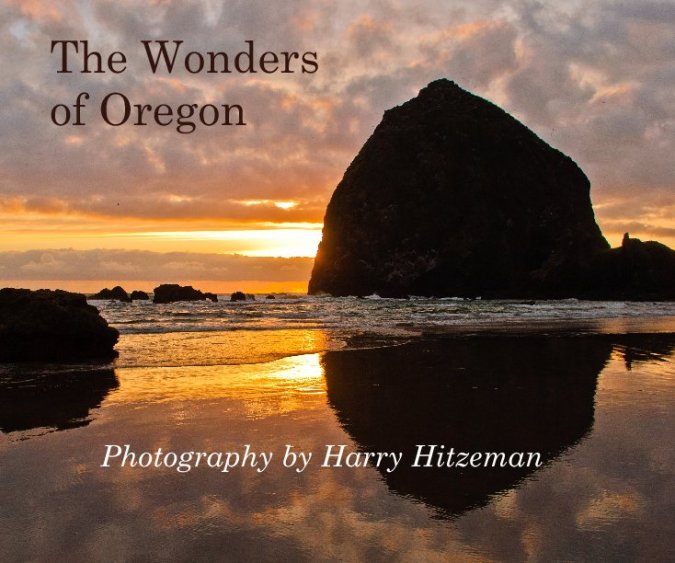
Tomorrow I’m heading over to Ghost Ranch in Abiquiu, New Mexico, to teach a week of Digital SLR Photography in Georgia O’Keeffe country. I look forward to spending time in that most beautiful landscape, sharing this passion with a new group of participants.
Category: Location (Page 5 of 8)

Juried Artist Exhibition Selection
My image “Water Color” was selected for the Open Lens II exhibit at Gallery 7, Joliet, Illinois.
Open Lens II is Gallery 7’s 2nd Annual Juried Exhibit of Photographic Fine Art. Over 535 images were submitted by more than 90 artists from across the country. The exhibit features 68 images selected by 2 jurors with a Best of Show Award, 1st, 2nd and 3rd Place Awards, 6 Honorable Mention Awards, and Purchase Awards honoring more than 10 Artists and images. The exhibit features an Opening and Closing Reception and is open for viewing by the public and invitees over the course of the exhibit.
The Exhibit Opening Reception is today, June 4, 2010 from 6:00 PM to 9:00PM. The exhibit runs through the July 15, 2010 Artists Closing Reception.
About Gallery 7
Gallery 7 is a Fine Art Gallery in the Rialto Arts District in Historic Downtown Joliet. Located just one door north of the historic Rialto Theater, Gallery 7 features Fine Art Photography, Fiber Art and other artworks. It is a collaboration of nine member and associate member artists. The gallery is open 11 AM to 2 PM, Monday through Friday, for receptions and by appointment. Call 815.726.1840 for appointment openings. Address: Gallery 7, 116 N Chicago St, Suite 102, Joilet, Illinois.

Mesa Arch Starburst
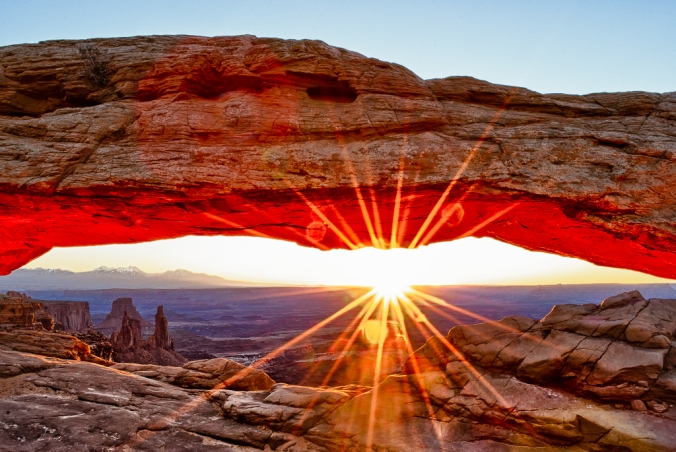
Sunrise on Mesa Arch, Canyonlands National Park, Utah
Mesa Arch is such a popular location in Canyonlands National Park, I had to get up very early to get a spot to photograph the arch before all the other photographers and tourists arrived. Ahhhh — Nature!
It was a beautiful sight. This image is actually an HDR composite of 2 images. The trick is to take one shot exposing for the close side of the arch before the sun comes up, and another when the sun comes up with the aperture closed down to about f3o, which makes the arch look pretty black.
It’s funny how we humans like to rate other humans with “best” lists like the Academy Awards, or the Person of the Year, or the Superbowl winners, or even The Biggest Loser. Maybe we just need to deal with a finite number, because we would feel overwhelmed by considering everything or everybody.
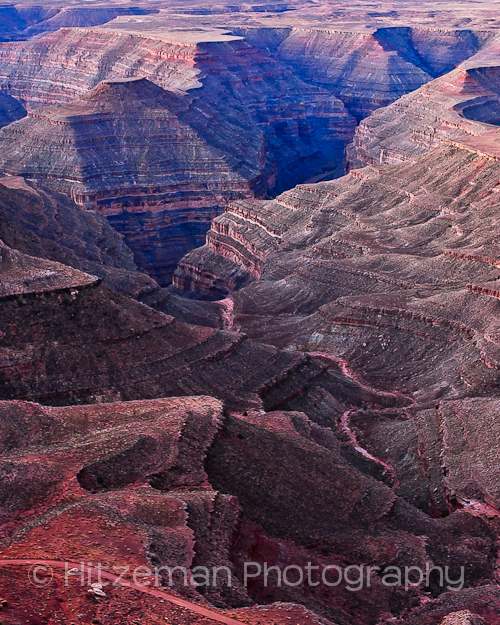
“Muley Point”
To manage our comprehension of the wonders of nature, we have them in a list called the Seven Wonders of the World. Really? Are there only seven? Of course not. Every day there are wonders all around us if we but open our eyes to them.
My practice of creating landscape photographs has made me more aware of seeing what is around me, and I am hyper-aware when on a trip to a place I’ve never seen before. My last trip to parts of Utah and Colorado was to photograph some of the most beautiful and spectacular sculptures of nature I had never seen.
Trust me, there were many more than seven wonders! Here’s one of “The Seven” — watch for the other six that I’ll post over the next few weeks.
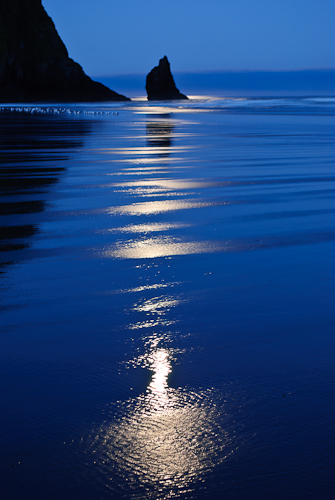
“Moonlight Beach”, Moonlight reflections on Cannon Beach, Oregon
As a landscape photographer, I track the date of the next full moon in the hopes of getting it into a photographic composition. If the clouds cooperate, seeing the moon low on the horizon is always a thrill and it can add dramatic interest to a photograph. I have learned that the shot does not have to be taken on exactly the day of the full moon. It can be taken a few days earlier or a few days later and still be what I’m looking for.
I created a mnemonic device to help me remember when to shoot: B-E-A-M.
It stands for
- BEFORE the full moon date, shoot in the EVENING toward the east.
On the days leading up to the full moon date — the BEFORE days — the moon is full-looking and bright and low in the eastern sky right around sunset — in the EVENING — and for a few minutes the sky will be a muted pastel blue, with possible orange sunset light illuminating clouds or objects in the landscape below the moon. - AFTER the full moon date, shoot in the MORNING toward the west.
On the days after the full moon date — the AFTER days — the moon is full-looking and bright and low in the western sky right around sunrise, in the MORNING, and there the sky will be a muted pastel blue, with possible orange, pink, or yellow sunrise light illuminating clouds or objects in the landscape below the moon.
Either occasion makes a nice tonal composition without the extremes of a too bright moon and a too dark sky.
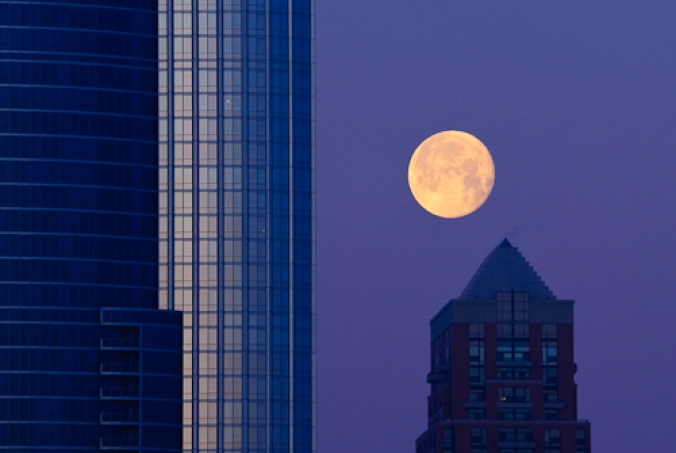
“Moon Moment”, Moonset near Millenium Park Tower
B-E-A-M
Before Evening, After Morning
Now it’s easy for me to remember whether I need to get up early or stay out late.
Good luck on shooting the moon!

